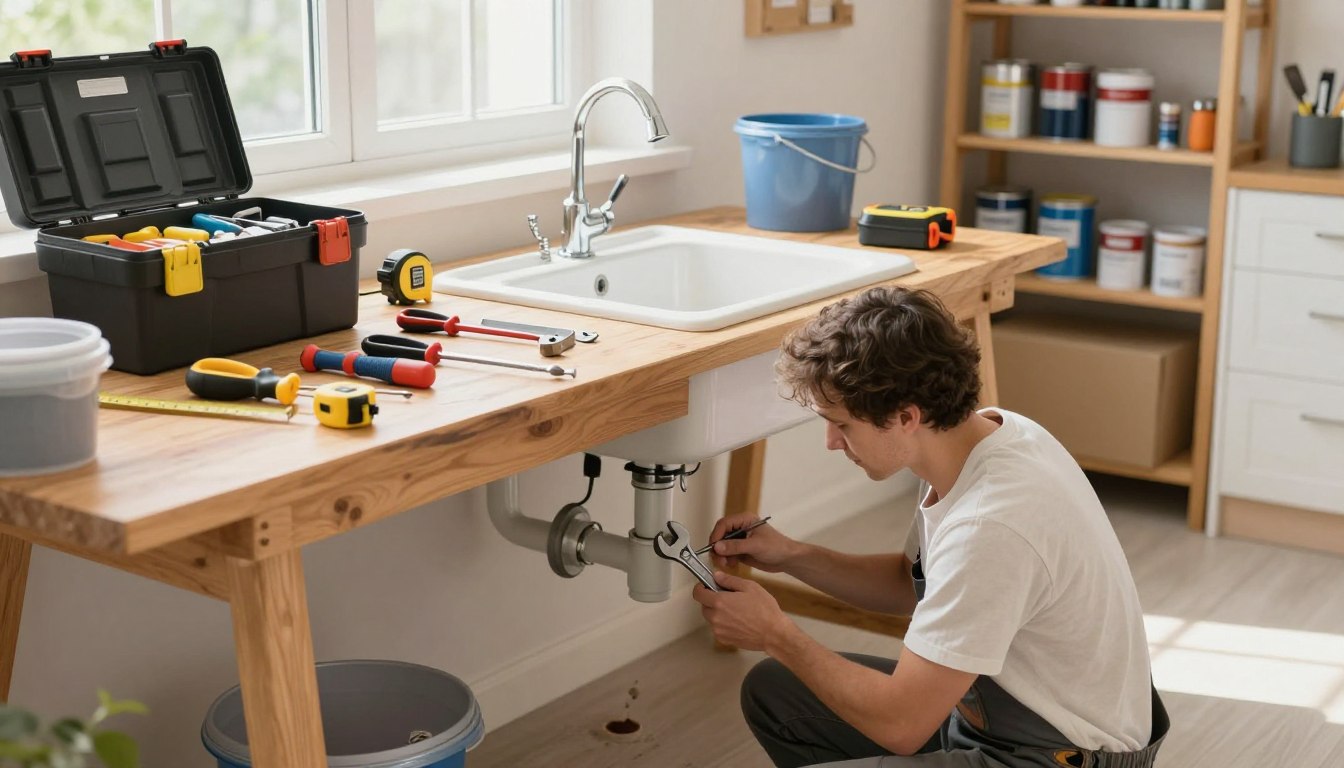
Did you know that nearly 70% of American households face at least one minor maintenance issue every single month? You might have experienced the frustration of a leaky faucet or a stuck door. These diy home repairs don’t have to break the bank or ruin your weekend.
This guide offers practical steps to tackle those nagging tasks with confidence. We aim to save you time, money, and stress by teaching you how to spot issues correctly. You’ll learn the value of proper preparation and safety before starting any project.
By mastering these skills, you can handle small problems before they become big, expensive issues. We’ll also show you when it’s time to call in a professional. Let’s get started on making your home feel new again.
Key Takeaways
- Most maintenance issues can be resolved with basic tools and a little patience.
- Prioritizing safety and preparation prevents accidents during your projects.
- Accurate diagnosis is the most important step in any successful fix.
- Learning to handle minor tasks saves significant money over time.
- Knowing your limits ensures you recognize when to hire a licensed expert.
Get Ready for Safe, Efficient DIY Home Repairs
Fixing your home needs more than just tools. It needs a smart plan. By using affordable repair tips, you can save time and money. Knowing how to prepare helps you tackle home improvement challenges without overspending.
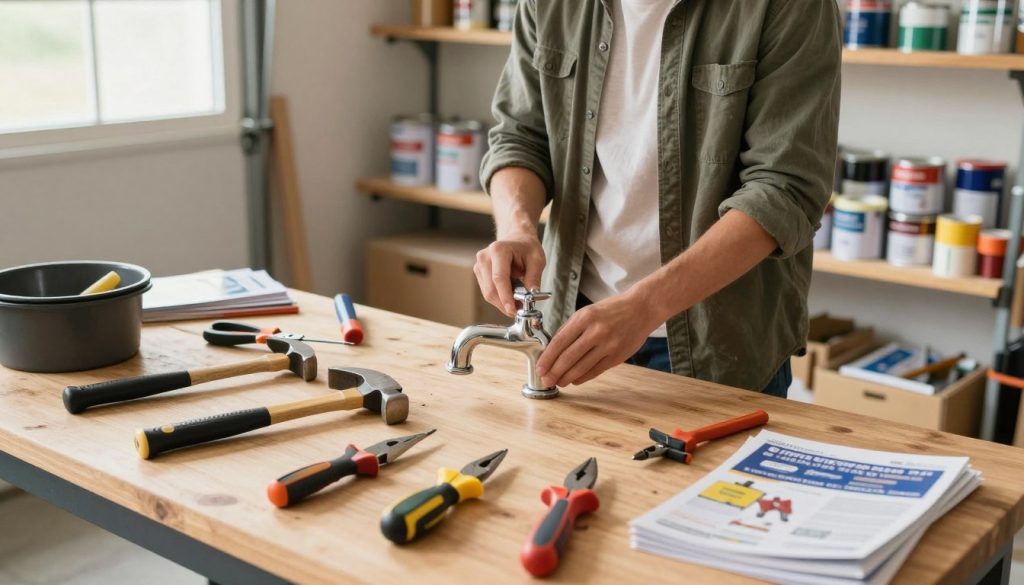
Step 1: Gather Essential Tools and Affordable Supplies
Build a Basic Repair Kit
You don’t need a big workshop for most repairs. Start with a basic kit. It should have a multi-bit screwdriver, an adjustable wrench, needle-nose pliers, and a tape measure. Having these tools ready helps you fix small problems quickly.
Choose the Right Replacement Parts
Always check the damaged item before buying parts. Take it to the store if you can. This way, you avoid buying the wrong parts, which can delay your project.
| Tool Category | Common Use | Priority Level |
|---|---|---|
| Measuring | Tape measure | High |
| Fastening | Multi-bit screwdriver | High |
| Gripping | Adjustable wrench | Medium |
| Cutting | Utility knife | Medium |
Step 2: Shut Off Utilities and Assess the Damage
Turn Off Water, Electricity, or Gas as Needed
Before starting, always prioritize safety. For plumbing leaks, find the shut-off valve. For electrical work, turn off the right breaker in your panel.
Know When a Repair Requires a Licensed Professional
While DIY is great for many tasks, some are too risky. If you face complex wiring, major gas leaks, or structural damage, call a pro. Knowing your limits is key to keeping your home safe and following local codes.
Fix Common Home Repair Problems Step by Step
Fixing common home issues can save you money and boost your DIY skills. By following a step-by-step guide, you can tackle many household problems without needing a professional for every small task.
Step 3: Stop a Leaky Faucet or Pipe
Dealing with common plumbing problems often starts with a simple drip. Before you begin, ensure your water supply is turned off to prevent any accidental flooding in your workspace.
Tighten Connections and Replace a Worn Washer
Most leaks occur because a seal has degraded over time. You can often stop the drip by tightening the packing nut or replacing the rubber washer inside the handle assembly.
Use Plumber’s Tape on Threaded Fittings
If you notice water seeping from a threaded joint, unscrew the fitting and apply a few wraps of plumber’s tape in a clockwise direction. This creates a watertight seal that prevents future leaks.
Call a Plumber for Hidden or Persistent Leaks
If you cannot locate the source of the moisture or if the leak continues after your repairs, it is time to call a professional. Hidden leaks behind walls can lead to significant water damage if left unaddressed.
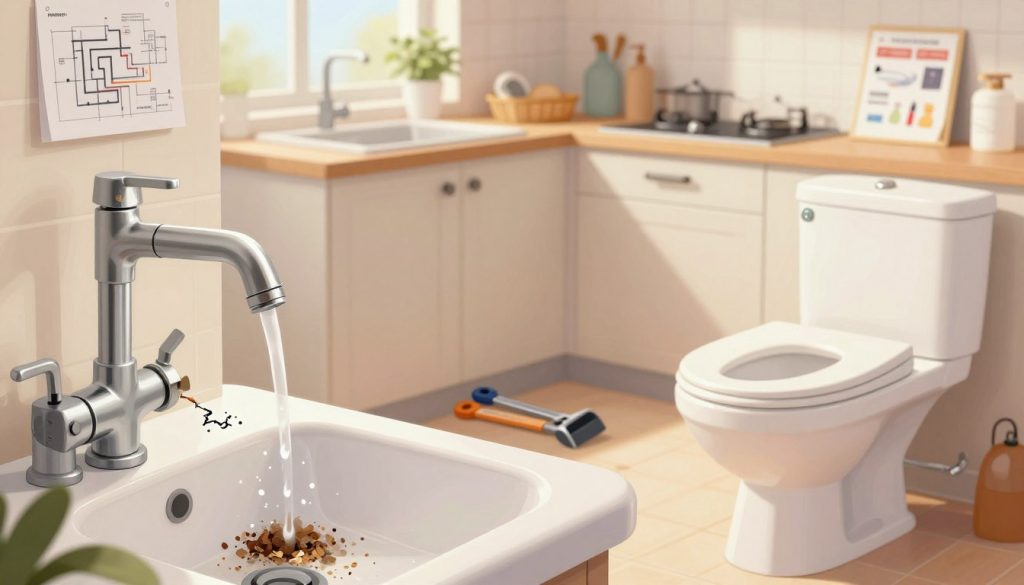
Step 4: Clear a Slow or Clogged Drain
A slow drain is another frequent issue that disrupts your daily routine. You can usually clear these blockages using basic tools found in most homes.
Remove Debris and Use a Plunger Correctly
Start by removing visible hair or debris from the drain opening. Use a cup plunger to create a strong vacuum seal, then pump it vigorously to dislodge the obstruction.
Clean the Drain Trap Without Damaging Pipes
If plunging fails, place a bucket under the P-trap beneath your sink. Carefully unscrew the slip nuts to remove the trap, clean out any buildup, and reassemble it securely.
Step 5: Repair a Running Toilet
A toilet that runs constantly wastes a significant amount of water. This is one of the most frequent common plumbing problems homeowners face, but it is usually easy to fix.
Adjust or Replace the Flapper, Chain, or Fill Valve
Open the tank and check if the chain is tangled or if the flapper is not seating properly. If the flapper is warped, replacing it is a quick and inexpensive solution.
Test the Tank for Silent Water Loss
Add a few drops of food coloring to the tank and wait fifteen minutes without flushing. If color appears in the bowl, your flapper is leaking and needs a replacement.
Step 6: Handle Common Electrical Issues Safely
When you encounter common electrical issues, safety must be your top priority. Never attempt repairs if you feel unsure or if the situation involves complex wiring.
Reset a Tripped Circuit Breaker or GFCI Outlet
If your power goes out in one area, check your breaker panel for a switch in the middle position. Press the “reset” button on your GFCI outlets to restore power.
Replace a Lightbulb or Wall Switch Only When Power Is Off
Always turn off the main power before touching a switch or light fixture. Using a voltage tester ensures the circuit is truly dead before you start working.
Stop and Call an Electrician for Sparks, Heat, or Burning Odors
If you smell burning plastic or see sparks, stop immediately. These are signs of dangerous wiring faults that require an expert electrician to prevent fire hazards.
Step 7: Patch Small Holes and Cracks in Drywall
Minor wall damage is unsightly but simple to repair. A little bit of effort can make your walls look brand new again.
Fill, Sand, Prime, and Paint Minor Damage
Use a high-quality spackle to fill small holes or cracks. Once it dries, sand the area until smooth, apply a coat of primer, and finish with matching paint.
Step 8: Fix a Squeaky Door or Loose Cabinet Hardware
Small annoyances like squeaky doors can be fixed in seconds. Keeping your hardware in good shape prevents further wear and tear on your home.
Lubricate Hinges and Tighten Screws
Apply a silicone-based lubricant to door hinges to stop annoying squeaks. Check your cabinet hardware regularly and tighten any loose screws to keep everything aligned.
Replace Stripped Screws with Proper Anchors
If a screw hole has become stripped, it will no longer hold tight. Use a wall anchor or a larger screw to ensure your hardware remains securely attached to the surface.
Check Your Work and Prevent Repeat Household Maintenance Issues
Fixing a problem is just the start. Making sure it lasts is where the real skill comes in. Taking a few extra minutes to check your work can save you from household maintenance issues that could cost a lot later.
Step 9: Test Each Repair Before Cleaning Up
Check for Leaks, Loose Connections, and Unusual Sounds
Before you put your tools away, inspect the area you fixed. Look for any moisture, like beads of water or damp spots, which mean a bad seal. Listen carefully for hissing or rattling sounds that might mean a loose connection or trapped air in your pipes.
When you turn your water or electricity back on, do it slowly to avoid sudden pressure spikes. Watch the repaired part for a few minutes to make sure it works right under normal use. This careful approach stops small mistakes from becoming big problems.
Step 10: Prevent Future Home Improvement Challenges
Schedule Simple Home Maintenance Tasks
Keeping your home in good shape is all about being consistent. By setting aside time for simple home maintenance tasks, you can catch small problems before they get big.
Keep Spare Washers, Batteries, Caulk, and Fuses Available
Having common parts ready saves you from last-minute trips to the hardware store. Keep items like washers, batteries, caulk, and fuses on hand for quick fixes. Use the table below to keep track of what you need.
| Item Category | Common Use | Frequency of Check |
|---|---|---|
| Plumbing | Washers and O-rings | Every 6 months |
| Electrical | Fuses and Batteries | Every 12 months |
| Structural | Caulk and Sealant | Every 6 months |
Use Quick Fix Solutions Without Creating Larger Problems
Document Repairs and Track Recurring Damage
Keep a logbook or digital file for every repair you do. Recording when and where you fixed a leak or replaced a part helps you spot patterns. If a certain area keeps failing, it might need a more permanent fix.
“An ounce of prevention is worth a pound of cure when it comes to the longevity of your home’s infrastructure.”
Get Expert Help for Structural, Gas, or Major Electrical Work
DIY projects are fun, but don’t be afraid to call a pro for big jobs. If you find gas leaks, major electrical issues, or structural cracks, prioritize your safety. Experts can make sure your home is safe and meets local building codes.
Conclusion
By taking charge of your home, you can tackle small problems with ease. You now know how to use quick fixes to save time and money. Remember, preparation is key to any successful repair.
Always make sure your area is safe before starting any work. Testing your repairs keeps your home safe and working right for your family. Using tools from brands like Stanley or Craftsman helps you get professional-looking results.
These tips let you handle home upkeep on your own, without calling for help for every little thing. By following these steps, you learn valuable skills. Stick to what you’re comfortable with to keep your home safe.
Don’t be shy to share your home improvement stories with your neighbors. Your efforts keep your home in great shape all year. Start your next project today and feel proud of your work.